Snap Assist enables you to ‘snap’ windows to the sides of the screen. With displays getting bigger, the logic is that we can have more windows on our screens. Being able to split the screen into different sections for different windows is useful and Snap Assist in Windows 10 is designed to help.
Snapping Windows
It is very easy to have several windows open after just a few minutes of working on your PC and it is equally easy to lose track of them. Snapping windows helps prevent that.
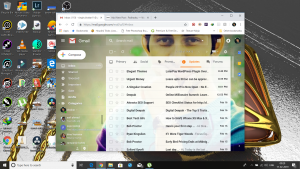
To snap any open window or app to the side of the screen, left-click on the title bar at the top of it and drag it over to either the far left or right of the screen. Your mouse cursor will need to reach the edge, not just the side of the window, for this to work properly.
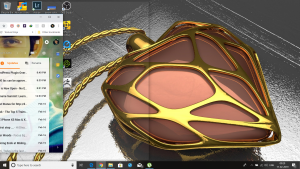
As the cursor reaches the edge of the screen, a transparent outline will appear with a small flash, to show where the window will appear once snapped. Release the mouse button and the window will snap into place. You don’t need to wait to see the outline, just drag and release.
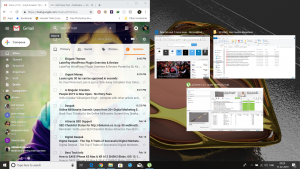
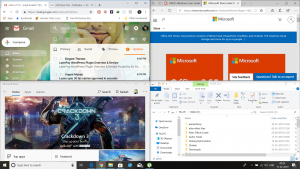
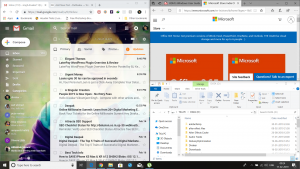
If you have several windows open when you snap one to the left or right, the snap assist display will be shown. This display contains all of your other open windows as smaller thumbnails, positioned on the side of the screen opposite where you snapped the window.
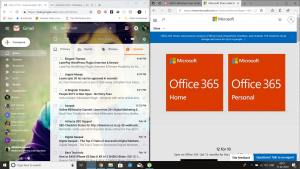
Left-click on any of these thumbnails and that window will snap to the other side of the screen (opposite the one already snapped). You can also snap windows by selecting them and pressing the Windows key and an arrow button on your keyboard.
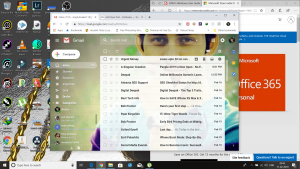
You can also snap four windows in Windows 10, one into each corner of the screen. Having four windows snapped into the four corners of your screen is only really workable if you have a large monitor, although anyone with Windows 10 can do it.
To snap four windows, you click and drag in the same way as explained above but you drag into the corners rather than just to the edge. You will see the transparent outline appear but it will now only cover a quarter of the screen. The snap assist display will still appear.
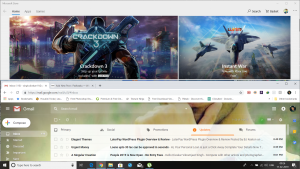
You can also combine snapped windows in different ways. For example, one full height window snapped to the left, and two windows snapped in the two corners on the right, giving you three windows open at once but keeping one of the windows at a more usable size.
To unsnap windows you simply click on the title bar of each window and drag it away from wherever it is snapped to: sides or corners. Snapping is a great multitasking tool and once you start using it, you won’t want to go back to randomly floating windows.
Snapping Vertically
Windows 10 also adds support for vertical window snapping. This works slightly differently to normal window snapping, as most modern monitors make vertical snapping a less useful option for splitting a screen.
Press Windows Key + Up or Windows Key + Down to snap the current app to the top or bottom halves of the screen. Pressing Windows Key + Up a second time will maximize the window, while pressing Windows Key + Down a second time will minimize it.
You can’t do this with the mouse, you need to use the keyboard shortcuts. Dragging a window’s title bar to the top of your screen will just maximize it, while dragging it to the bottom of your screen won’t do anything. Some universal apps may not behave well with vertical or 2×2 snapping.