Menus are an essential part of interacting with your Mac. Whether it’s a pull-down menu accessed by clicking on the top bar of your desktop or a contextual menu found by right-clicking or CTRL-clicking on a file or folder, you need to know how to use your menus if you are to get the most out of your Mac and Mojave.
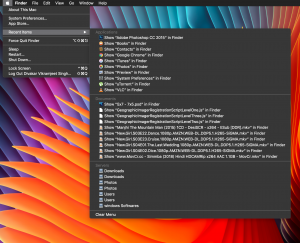
The Apple menu is found in the top left corner of the desktop. To open it, click on the Apple icon once, then choose an option. It’s always there, whatever you’re doing on your Mac.
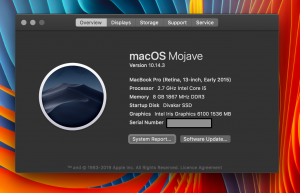
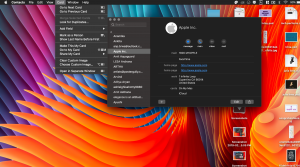
Choose About This Mac for a window showing you technical information about your computer. Tabs at the top of this window let you delve further, looking at its Display, Storage and more; and you can get a full System Report by clicking a button too.
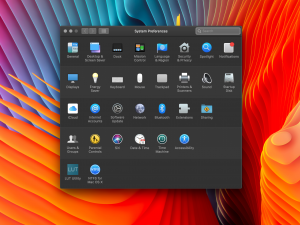
The System Preferences option opens the Mac’s System Preferences.
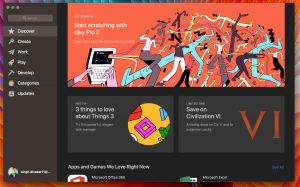
This option opens the App Store. If updates are available for your Mac or any of its apps, this is noted here too.
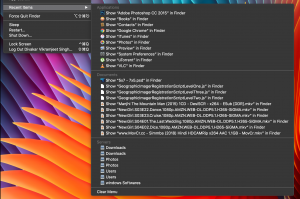
By hovering over the Recent Items option, you get this sub-menu. This is a list of the applications you’ve recently used. Click on one of them to open it. It’s a great way of going back to a recently used application.
![]()
Click here for the Force applications and notes if any of them are unresponsive, that is, they’ve crashed. You can force a crashed app to quit from here.

Click here to put your Mac into Sleep Mode. This saves energy and password- protects your Mac while you’re away from your keyboard.
Click here to restart your Mac. This is useful if you’ve installed new software or your Mac isn’t behaving as it should.
Click to shut down your Mac, that is, switch it off.
![]()
Lock screen brings up your password screen. You have to enter your password to continue to use your Mac. It’s useful if you’re leaving your Mac for a while and don’t want anyone snooping on it.
Click here to log yourself out but not shut down your Mac. This is only really useful if you have more than one user account on your Mac.

These are the documents you’ve recently used. If you need to open one again, this menu is a quick and easy way to do so without having to go through Finder.
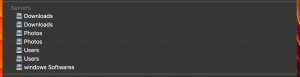
Servers you’ve recently accessed on your wireless or Ethernet network appear here. We’ve accessed quite a few servers here. To open one again, simply click on it in the menu. If you never use external servers, you can ignore this menu item.
Click here to completely clear the entire Recent Items sub-menu and start afresh with a clean slate.
Contextual Menu
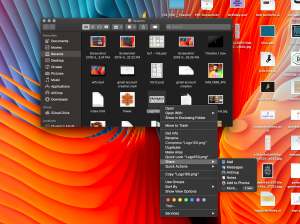
Files and folders have a Contextual Menu that you can access by right-clicking or CTRL-clicking on the item. This menu gives you a range of options, including rename the file, move it to trash, duplicate or copy it, share it using the macOS Share options discussed later in the book and more. The Get Info option brings up a useful information window.
Application Menu
Each application has its own unique set of menus located next to the Apple menu. They will change when an application is active and will revert back to the Finder menu when no apps are active. Each is clearly labelled to make it easier. We’ll add specific details for application menus when we look into the applications themselves later.
Right Clicking and CTRL- Clicking
Mac mice and trackpads don’t have built-in buttons, so how do you make a right-click? It’s actually easier than you think.
Your Magic Mouse or Trackpad doesn’t have two buttons, but you can still secondary-click by holding the Control (CTRL) key and clicking your mouse or trackpad. Alternatively, enable right-clicking. Go to Apple menu > System Preferences > Mouse/Trackpad, depending on which you’re using.
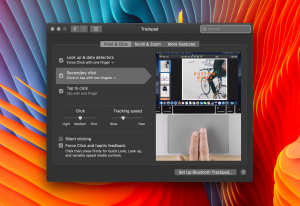
Click the checkbox for Secondary Click. There are also a few other options here such as click weighting. With Secondary Click activated, clicking on the right side of a Magic Mouse or with two fingers on a Magic Trackpad is the equivalent of right-clicking on a two button mouse.