The Start menu in Windows 10 is about much more than just displaying a list of your apps and software. It includes Live Tiles, shortcuts to folders and settings, and you can now even create folders within the menu itself. So whether you just want to use it as a simple list or if you want to make it the hub of your PC, the Start menu has it covered.
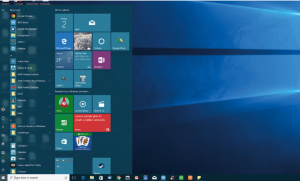
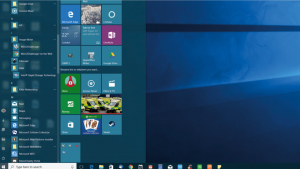
You open the Start menu by clicking the Windows icon in the bottom left of the desktop or by pressing the Windows key on your keyboard. The menu in Windows 10 is a mix of the Windows 7 and 8 styles but works better than either, with a list of apps on the left and Live Tiles on the right.
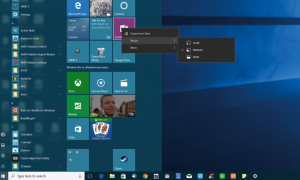
The live tiles work in the same way as they did in Windows 8. You can drag any of them around the menu should you wish to reorder them. You can right-click any file, folder or app in Windows 10 and select Pin to Start to include it here. Once in the menu, click and drag to rearrange tiles.
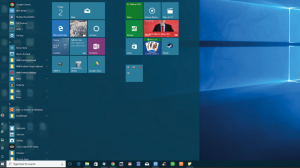
You can right-click anything in the live tiles area of the Start menu to bring up the tile menu. This lets you resize, unpin and even turn the live tile into a static tile. There are up to four different sizes of live tile: small, medium, wide and large, giving you lots of ways to build the perfect Start menu.
The tiles are split into groups. You can click the headings on existing groups to rename them. Dragging one of the tiles to the bottom of the menu, to an unused area of the menu, enables you to create a new group. A bar will appear at the bottom to indicate that a new group will be created.

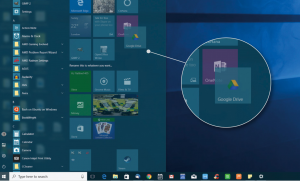
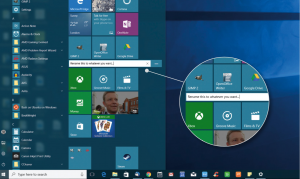
The Start menu now allows for the creation of folders. This means that you can further organise the menu by keeping related app icons in a single place. To create a folder, simply click and drag an app icon over another. The icon beneath will expand slightly. Drop the dragged icon and the folder is created.
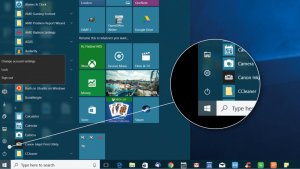
On the left-hand side at the bottom, there’s a list of key items, such as the Settings app and a shortcut to the File Explorer. Click the power icon and you can shut down or restart your PC. You can add more options to this shortcut section in Settings > Personalisation > Start > Choose which folders appear.

The final area of the Start menu is the apps and software list. This displays all of the installed apps and software on your computer (software which doesn’t require installation to run won’t be shown here). Scroll up and down to view the full list and click the arrow next to apps to see more options.
The Most Used section at the top of the list enables you to access recently opened programs. This will also show recently opened files, so if you have Microsoft Word installed, simply go to the menu next to the icon in the most used apps menu and you can instantly open your recently worked upon files.
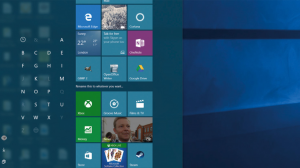
Clicking on any of the headings (including the individual letters) of the apps list will open an A-Z selection menu. You can then quickly click on any of the letters to skip directly to the listed apps that begin with that letter, rather than having to scroll down through the entire thing.
Finally, Windows 10 also makes it easy to resize the Start menu. Move the mouse to the edges and resize handles will appear, so you can have it covering half your screen or a much smaller proportion. You can even set the Start menu to open full screen, by going to Settings > Personalisation > Start.